Create new SKUs
Add new products to the system with complete information including dimensions, weight, cost, and descriptions.
The Momentum lets you create new SKUs and manage transfers between accounts in the warehouse. You can create products with templates, assign them to accounts, add descriptions and images, create bins, and perform inventory recounts.
This feature is useful when receiving new products that don’t exist in the system yet, or when transferring products between different accounts or locations.
Add new products to the system with complete information including dimensions, weight, cost, and descriptions.
Use pre-configured templates to quickly set up new products with standard dimensions and specifications.
Assign products to different accounts and manage transfers between accounts efficiently.
Add product images from camera or gallery to help identify products visually.
The Momentum module follows this general workflow:
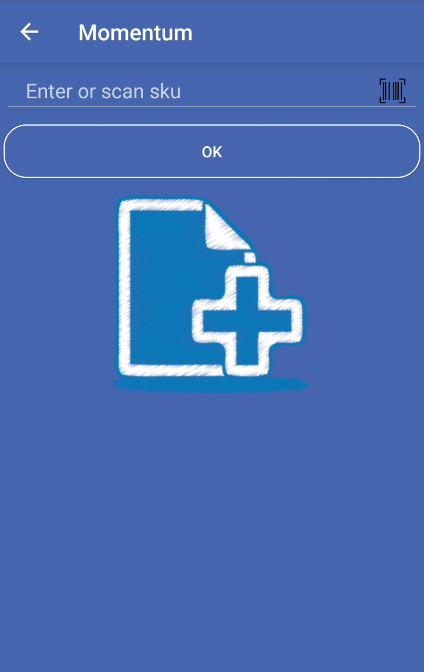
Enter or scan SKU
Type the SKU code manually or scan it using a camera. The SKU field is at the top of the screen.
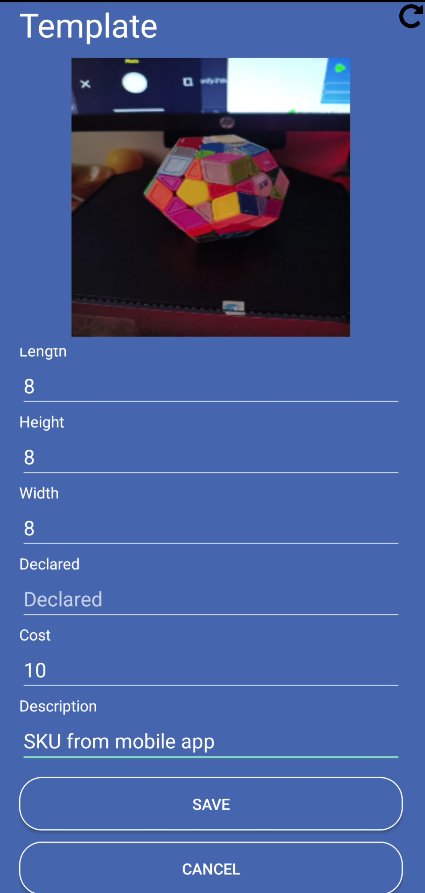
Select a template
Choose a template from the grid below the SKU field. Templates contain pre-configured dimensions (weight, length, height, width), declared value, cost, and description. You can also create a new template by selecting the “New” template.
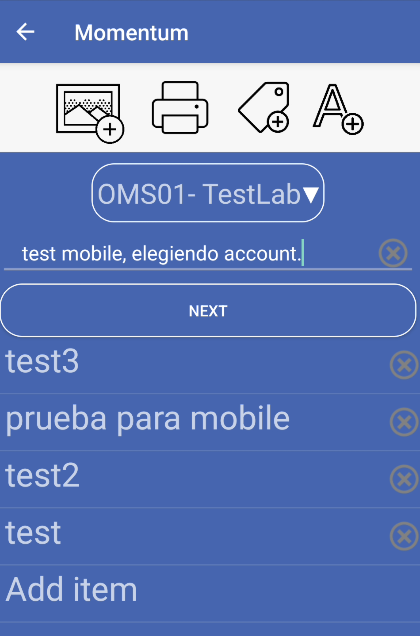
Select account
After selecting a template and entering the SKU, choose an account from the dropdown spinner. This assigns the product to a specific account.
Add description
Enter or select a description for the product. You can type manually or select from template words/phrases shown in the list below.
Save the SKU
Tap NEXT to save the new SKU. The system will verify if the SKU already exists and guide you accordingly.
Create bin and recount
After saving, enter a bin location and quantity to create inventory for the new SKU. The system performs a recount automatically.
Templates store product specifications that you can reuse:
Using templates:
Accounts represent different customers, locations, or inventory categories:
Add product descriptions in multiple ways:
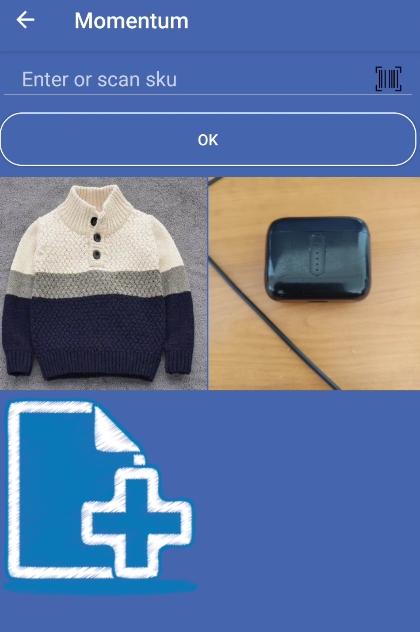
Add product images from two sources:
Images can be rotated before saving. You can also set an image as the main product image.
This is the main screen when creating a new SKU:
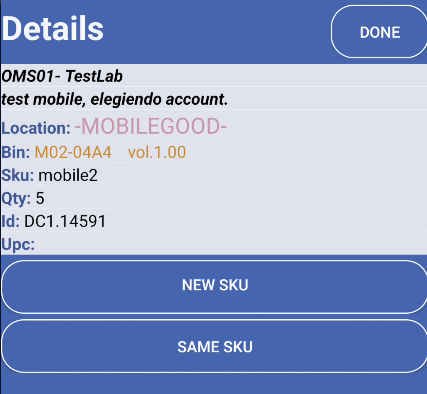
Shown after SKU creation:
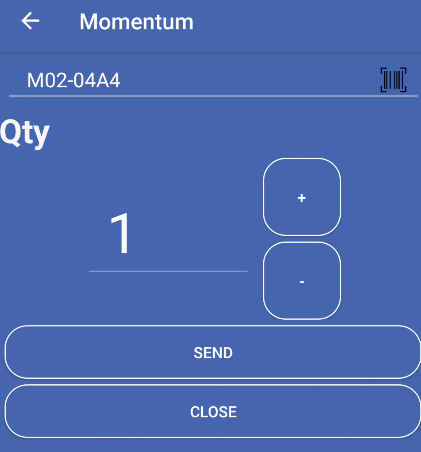
Shown when creating a bin:
Shown after successful bin creation:
Create templates for products you add frequently. This saves time and ensures consistency in product specifications.
Use a camera to scan SKU codes and bin locations. This reduces errors and speeds up data entry.
Include product images to help warehouse staff identify products quickly. Images can be taken with the camera or selected from gallery.
Make sure you select the correct account before saving. The system prevents selecting accounts that are already in use.
Problem: After entering a SKU, you see an alert saying the SKU already exists.
Solution: The alert shows which accounts already have this SKU. You can:
Problem: You see a message “Select a template, please” when trying to save.
Solution: You must select a template before saving a SKU. Tap one of the template images in the grid, or create a new template by selecting the “New” template option.
Problem: You see “Please select an account” message.
Solution: Make sure you’ve selected an account from the dropdown spinner before proceeding. The account field is required to save a SKU.
Problem: You see “Please, typing a description” message.
Solution: Enter a description for the product. You can type it manually or select words from the template words list below the description field.
Problem: You see “Bin not available” message when creating a bin.
Solution: The bin location you entered may already be in use or invalid. Try a different bin location or verify the bin code is correct.